5 Delicious Vegan Blue Cheese Recipes
5 Delicious Vegan Blue Cheese Recipes
Craving the bold and tangy flavour of blue cheese without the dairy? Our collection of Vegan Blue Cheese Recipes offers a delightful array of plant-based alternatives that capture the essence of traditional blue cheese.
From creamy spreads to crumbly dressings, these recipes are perfect for sandwiches, salads, or enjoying on their own. Dive in and discover how easy it is to enjoy a dairy-free version of this classic favourite.
Best Vegan Blue Cheese Recipes
1. Easy Vegan Blue Cheese Recipe
This easy vegan blue cheese recipe only uses 8 ingredients and takes merely 20 minutes to make (plus chilling time).
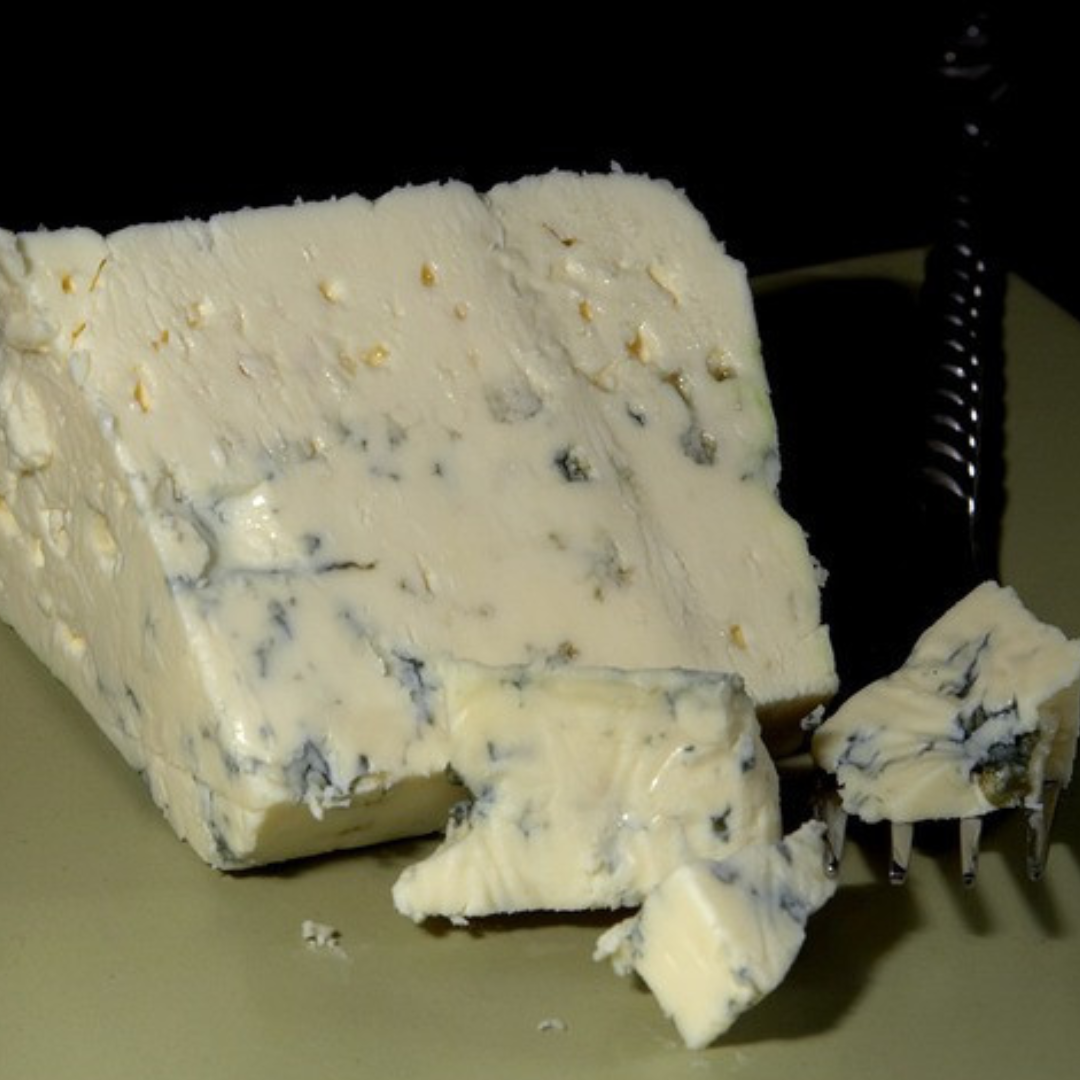
Voilà, you can enjoy your own homemade vegan blue cheese! This dairy-free cheese is creamy and tangy, has that funky kick, and has pretty green and blue veins throughout.
Prep time: 10 minutes | Cook time: 10 minutes | Total time: 20 minutes | Chill time – Fridge: 6 hours | or Freezer: 30 minutes | Servings: 2 Wheels of Cheese (~4 inches ∅)
Ingredients
- Raw cashews: 2 cups
- Refined coconut oil: ¼ cup melted
- Apple cider vinegar: 3 tablespoons
- White miso paste: 3 tablespoons
- Salt: 1½ teaspoons
- Onion powder: 1 teaspoon
- Garlic powder: ½ teaspoon
- Spirulina: ¼ teaspoon (for blue-green veins)
Method To Soften The Cashews
- To soften the cashews, place them in a medium pot with enough water to cover them. Bring the cashews to a boil and cook them for 10 minutes or until soft. Rinse with cold water after draining.
- Alternatively, place them in a bowl, cover them with water, and allow them to soak for at least 6 hours or overnight. Before usage, drain and rinse.
- Both ways soften the cashews, making combining them into a creamy consistency simpler.
Method To Make The Cheese Base
- Combine the softened cashews, coconut oil, apple cider vinegar, miso paste, salt, onion powder, and garlic powder in a food processor.
- Blend until the cheese mixture is as smooth as possible, stopping to scrape the sides as needed.
- It will get slightly sticky and heated as a result of the friction.
Method To Prepare Your Mould(s):
- To line the moulds, you can use either plastic wrap or parchment paper, or you can use a silicone mould.
- You may make two cheese wheels with any mould or dish you desire
- I used two tiny springform pans.
Method To Form The Cheese
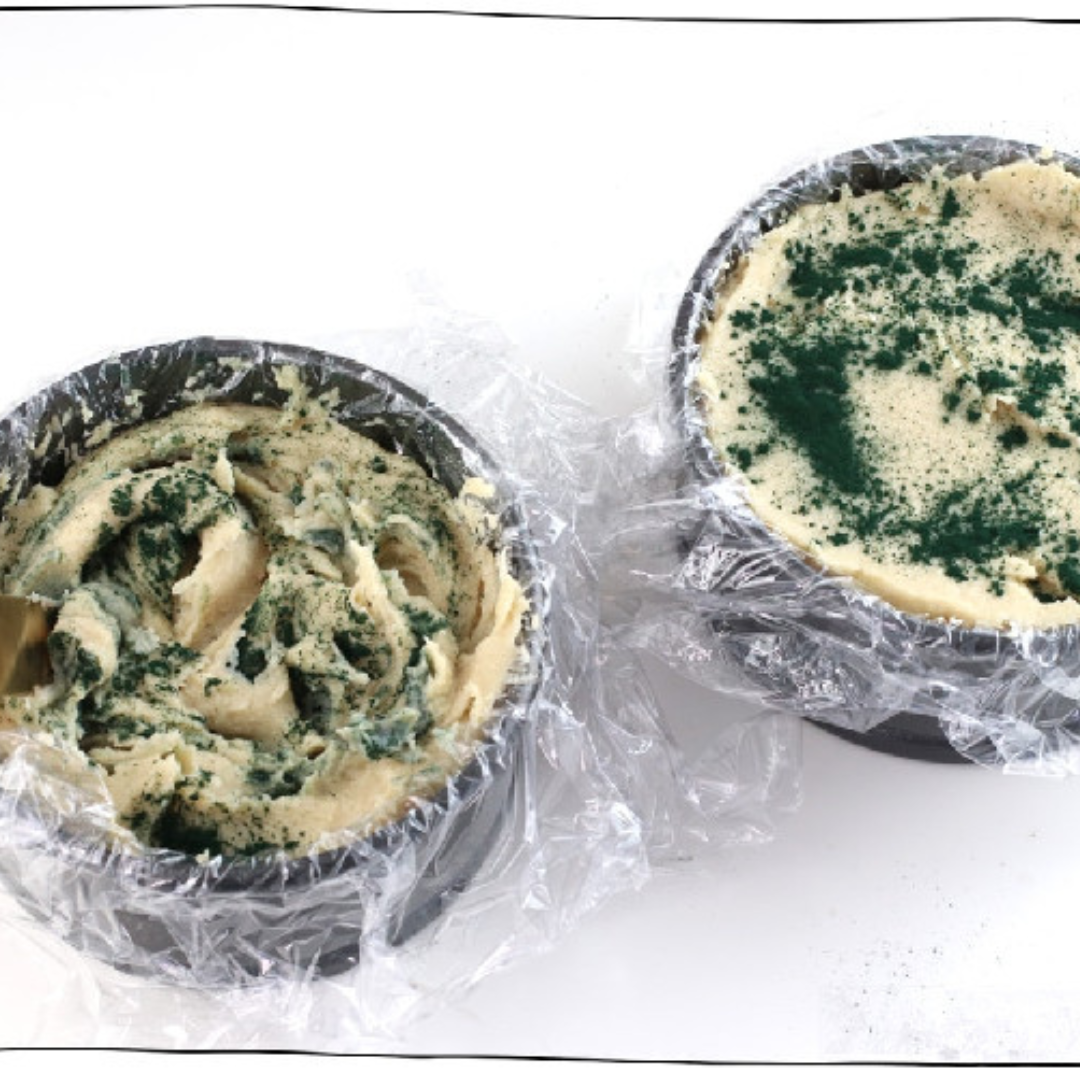
- ½ of the cheese mixture should be scooped into the mould(s) and smoothed out. Half of the spirulina should be spread across the surface.
- Sprinkle the remaining spirulina over the remaining cheese mixture. 2–3 times with a knife, stir the cheese in the mould to incorporate the spirulina and create veins in the cheese. Don't overmix the ingredients.
- To firm up the cheese, smooth the top, then cover and chill for 6 hours or overnight. Fresh out of the fridge, the cheese will be harder, but as it sits out, it will soften.
- Place it in the freezer for 30 minutes before serving to make it firmer.
- Easy vegan blue cheese can be kept in the fridge for 1–2 weeks or frozen for up to 3 months.
- Serve your homemade vegan blue cheese with crackers or bread, spread it on a sandwich, top your salad with some pieces, or use it in various other ways!
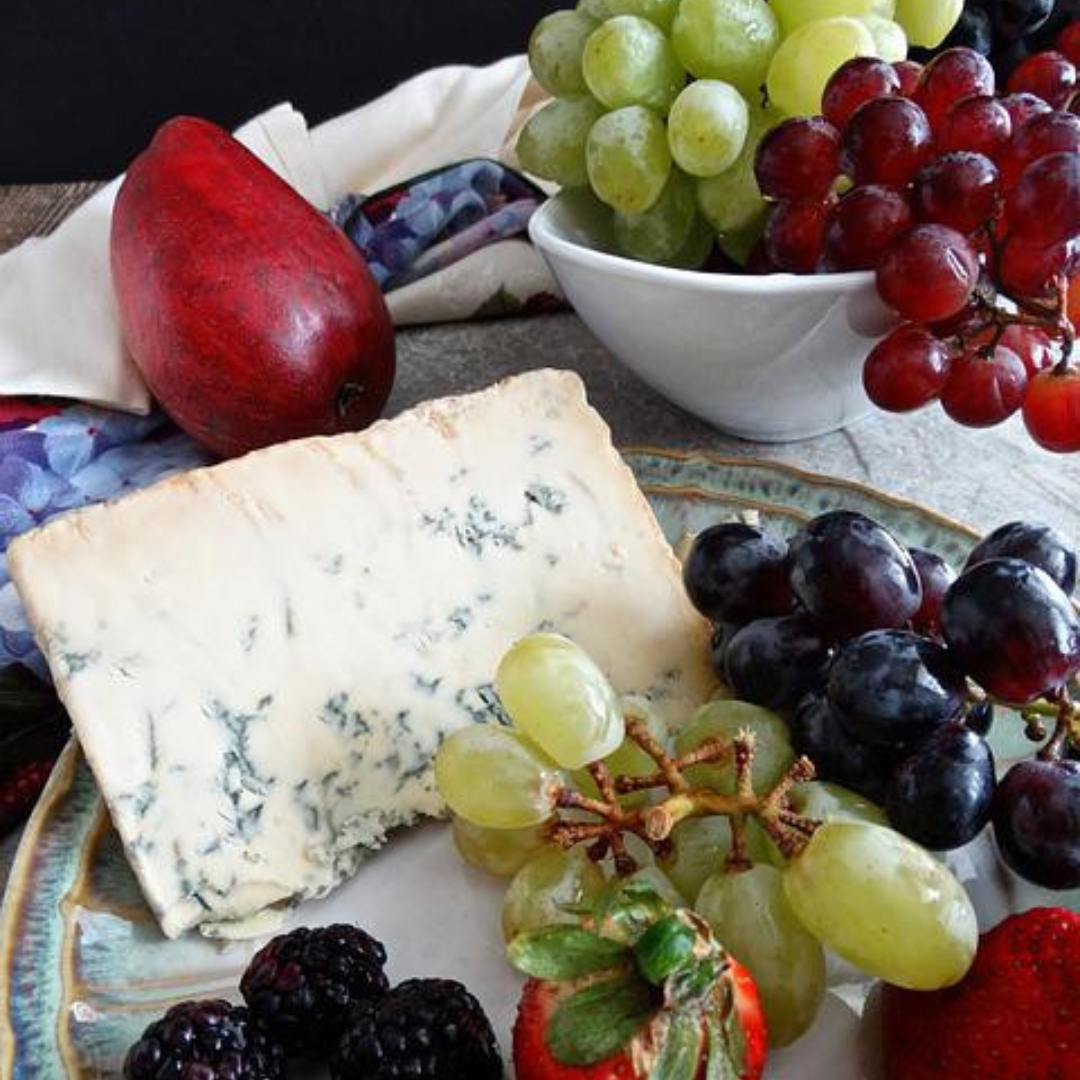
- I love to serve this blue cheese on vegan French bread as a lovely addition to our vegan snack platter.
Nutrition Per Wheel Of Cheese
- Calories: 1011kcal
- Carbohydrates: 47g
- Protein: 27g
- Fat: 85g
- Saturated Fat: 34g
- Sodium: 2716mg
- Potassium: 905mg
- Fiber: 6g
- Sugar: 9g
- Vitamin C: 1mg
- Calcium: 62mg
- Iron: 9mg
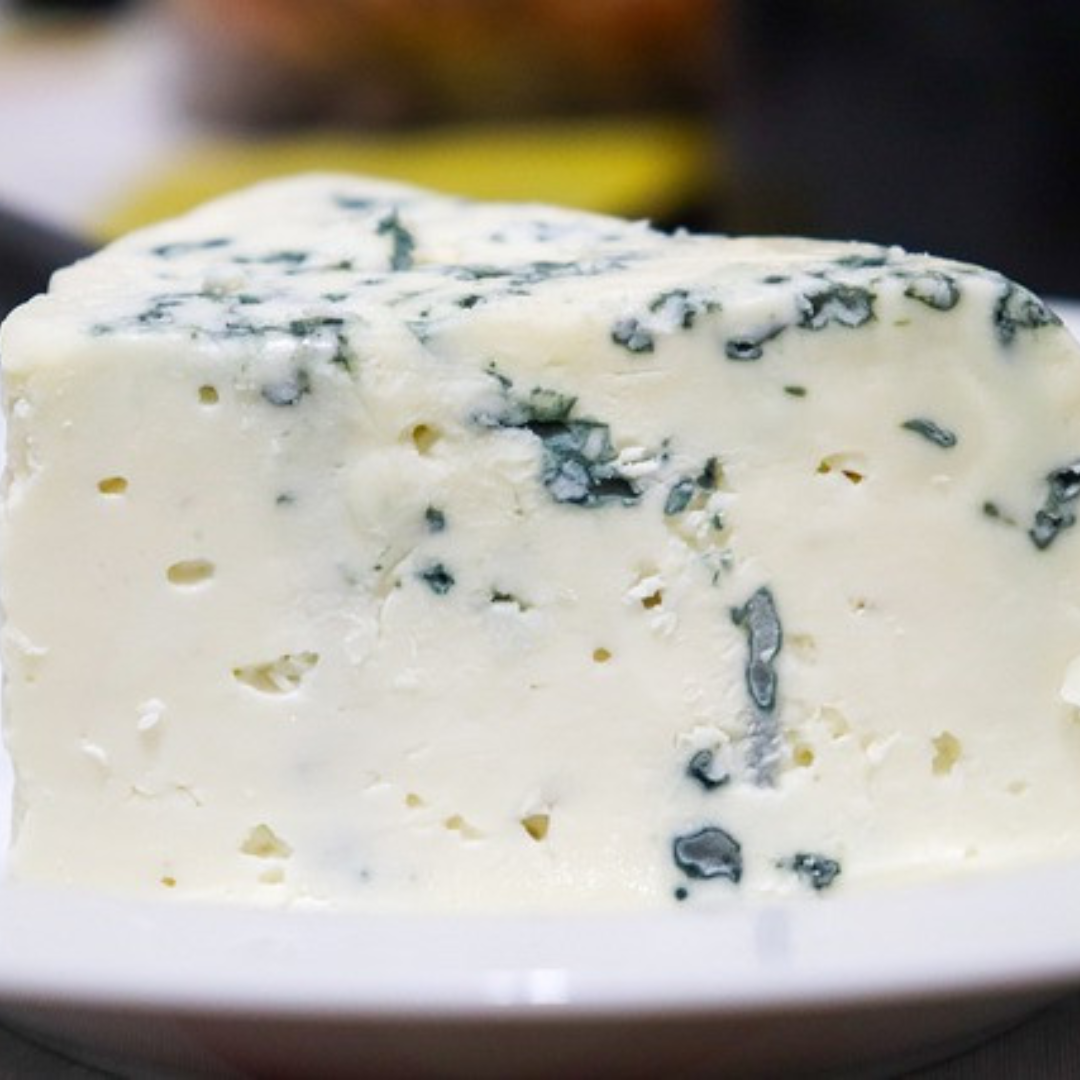
2. Tangy And Rich Vegan Blue Cheese
This tangy and rich vegan blue cheese is rich and savoury with a deliciously mild flavour and a smooth and creamy texture. It is easy to make and divinely served on toasted bread, baguette or crackers.
Prep time: 15 minutes | Soaking the cashews: 1 hour | Total time: 1 hour 15 minutes | Servings: 8
Ingredients
- Raw cashews: 2 cups (300g), soaked in hot water for 1 hour
- Distilled white vinegar: 2 tablespoons
- Refined coconut oil: 4 tablespoons
- White miso paste: 2 tablespoons
- Salt: 1 teaspoon
- Onion powder: 1 teaspoon
- Garlic powder: ½ teaspoon
- Water: 2 tablespoons
- Spirulina: ⅛ teaspoon (optional)
Method
- Add the raw cashews to a mixing bowl. Pour boiling water from the kettle over the cashews until completely submerged. Allow 1 hour for them to soak. Drain and rinse the cashews after 1 hour.
- In a blender jug (or food processor), combine the soaked cashews, the white vinegar, the refined coconut oil, the white miso paste, the salt, the onion powder, the garlic powder, and the water. Blend until smooth.
- Half the ingredients should be divided between two 4.5-inch round springform pans (bowls or ramekins). Spirulina should be sprinkled on top of each.
- The remaining mixture should be divided between the two springform pans and layered on top of the spirulina.
- Smooth it out and top it with additional spirulina. Spirulina should be softly and briefly swirled through each cheese with a butter knife. To make green/blue swirls, distribute the spirulina throughout the cheese. However, do not mix it in, or your entire cheese will become green/blue.
- Smooth the tops of the cheeses. Place the vegan blue cheese in the freezer overnight to set.
- After that, chill it for an hour before removing it from the springform pans and serving it.
Nutrition Per Serving
- Calories: 249kcal
- Carbohydrates: 11g
- Protein: 6g
- Fat: 21g
- Saturated Fat: 9g
- Polyunsaturated Fat: 3g
- Monounsaturated Fat: 8g
- Sodium: 454mg
- Potassium: 227mg
- Fiber: 1g
- Sugar: 2g
- Vitamin A: 4IU
- Vitamin C: 1mg
- Calcium: 16mg
- Iron: 2mg
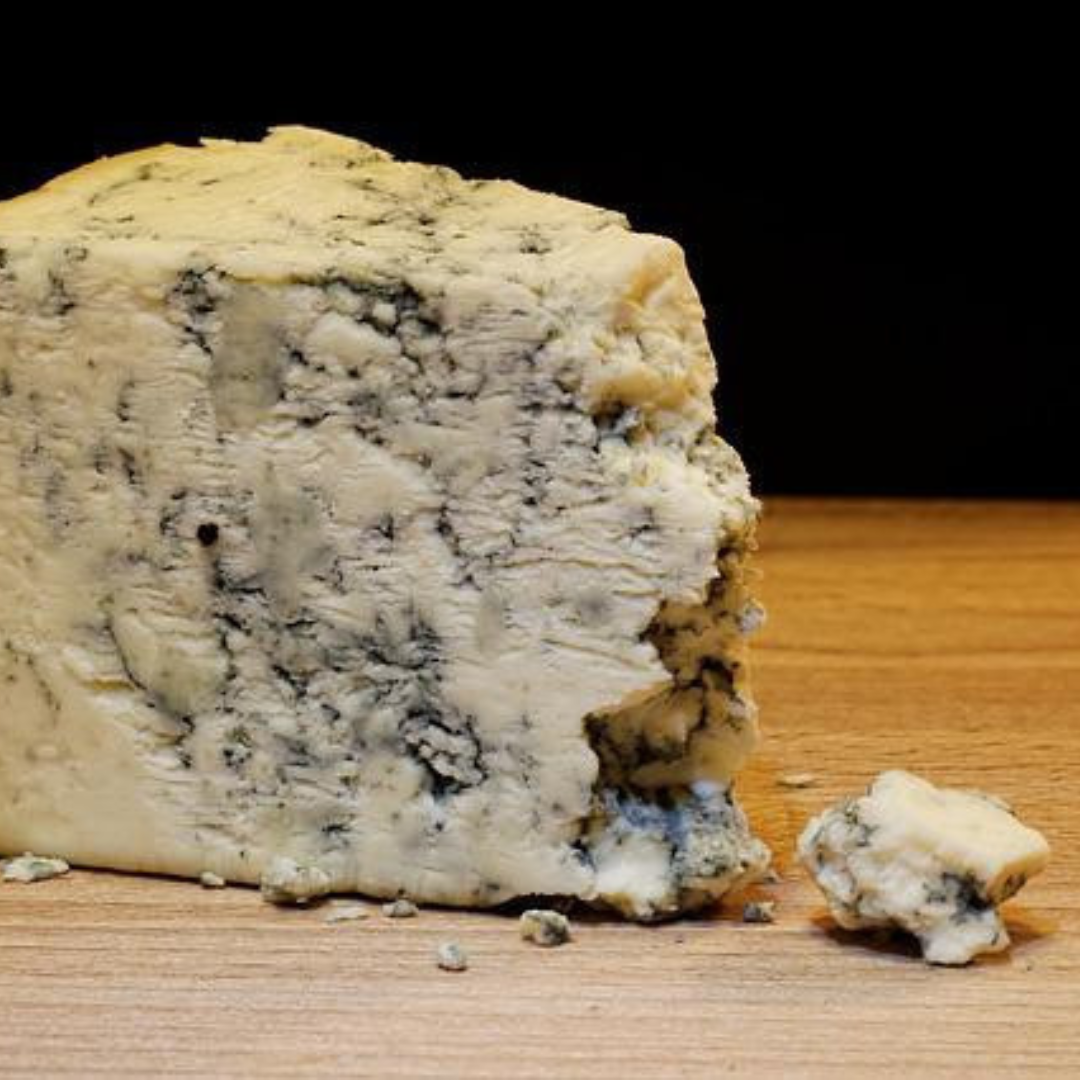
3. Vegan Blue Cheese That Tastes Like The Real One
This vegan blue cheese is made using traditional cheese-making techniques and it tastes like the real one! A creamy, sharp and strong cheese.
Prep time: 50 minutes | Aging time: 35 days | Servings: 4
Ingredients
- Raw cashews: 3 cups
- Refined coconut oil: 2 tablespoons
- Mesophilic culture: ⅛ teaspoon or vegan probiotics (Acidophilus): 6 capsules
- Penicillium roqueforti: ⅛ teaspoon liquid or ⅟₁₆ teaspoon powdered
- Filtered water: 5 tablespoons
- Sea salt: 1 teaspoon or to taste
Method To Prepare A Day Ahead
- Soak the organic and raw cashews in filtered water for at least 5 hours or overnight.
Method To Form The Vegan Blue Cheese
- Drain your soaked cashew nuts and add them to a large glass measuring cup.
- Boil a large pot of water and pour the boiling water directly onto the cashews.
- Let it sit for 2-3 minutes, then drain it again. This additional step will help to kill any possible bacteria.
- Transfer the well-drained cashews to a food processor or blender, and add your coconut oil and 5 tablespoons of filtered water to them.
- Blend it on high speed while scraping down the sides occasionally. This step might take 10-12 minutes, depending on the size and power of your blender. You should end up with a thick but smooth vegan blue cheese mixture.
- Add the power of the probiotic capsules to your blender.
- Also, add the Penicillium roqueforti to the mixture in the blender. Note that the liquid or powdered form works the same.
- Blend for 10-15 seconds more.
- The blue cheese mixture should be smooth but with a smooth consistency.
- If your blue cheese mixture needs it, add 1 tablespoon of water at a time until it is smooth. You want to be careful not to add too much water. The blue cheese mixture should remain thick in texture.
- Transfer the blue cheese mixture to a clean glass bowl. Cover it with a plastic lid or Saran wrap. Let the blue cheese sit in a dark place at room temperature for about 24 hours. This step is essential for the cheese to ferment.
- Place the bowl into the fridge for about 4 hours the next day. The chilling makes it easier to work with the mixture.
- Next, you line a flat plate or a baking sheet with parchment paper.
- Place 4 small springform baking pans on top of it (I used 3-inch cookie cutter rounds, stacked) for each cheese piece.
- Cut several strips of parchment paper and lay them out in 4 small springform baking pans. You want to cover the bottom and sides of each springform baking pan.
- This step aims to prevent the cashew mixture from touching the metal. Therefore, you can also use Saran Wrap or any other plastic film. Fill each pan with the cashew cheese mixture and press it down. Use plastic film so the mixture doesn't stick to your fingers.
- Place a plastic or glass container upside down on the plate where the cheese sits. This step is essential to keep some of the humidity inside. It is crucial for good mould growth.
- Place the cheese in your refrigerator (you will age the cheeses covered during the aging process).
Method For The Aging Of The Blue Cheese
- 2 days later, sprinkle salt on the vegan blue cheese and lightly rub it with your hands.
- Using a small plate lined with parchment paper, carefully flip the cheese and remove your springform cake pan. Sprinkle salt on top (previously the bottom) and on the sides, rubbing it gently in. Adding the salt is only done once.
- After a few days, the cheese will be easier to work with, even if it is still soft.
- Flip the cheese daily, always handling it with clean hands. You can also use gloves or work with a plastic film to make sure you are not touching the cheese.
- After about 7 days, blue mould should start to appear. Depending on your fridge's humidity and temperature, the mould will be slightly lighter or darker.
- After approx. 2 weeks, you will break the cheese into little pieces (just like when you scramble tofu). Make sure your bowl is clean. The cashew mixture will still be rather soft, and it is important to make little bits.
- Here, I highly recommend wearing latex gloves (if nobody in your family is allergic to latex).
- Lay out parchment paper strips into springform baking pans. Fill each baking pan with the scrambled cheese pieces without pressing too much.
- This step will create holes inside the cheese and is very important.
- The mould needs air to grow. You can remove the cheese from the springform pans right after shaping them. Place the cheeses on a baking sheet or a large plate.
- Cover it with a plastic container and refrigerate again.
- For the next 3 weeks, continue flipping the cheese daily. It only takes a few seconds. Always use gloves or clean hands.
- After 5 weeks, the inside and outside of your cheese will be covered with blue mould.
- Wrap each piece of cheese in aluminum foil or paper, and let it age another 4-8 days.
- Note: The longer you let them age in the fridge, the stronger their taste will be.
- The vegan blue cheese will stay in the fridge for about a month and become firmer and sharper.
Nutrition For ¼ Of A Cheese (~1 oz)
- Calories: 95 kcal
- Carbohydrates: 5 g
- Protein: 3.2 g
- Fat: 8.5 g
- Fiber: 0.6 g
- Sugar: 1 g

4. Vegan Cashew Blue Cheese
Yes, this is real vegan blue cheese. It is made with soaked cashews, filtered water, fresh lemon juice, and various seasonings.
This vegan blue cheese is soft, spreadable and tangy. Perfect for serving on crackers on a vegan snack platter.
You can achieve the “mouldy cheese look” when you add dry herbs and spirulina to the blue cheese mix. It will get an actual blue colour.
Prep time: 20 minutes | Soak the cashews: 4-6 hours | Refrigeration time: overnight | Servings: 8-10
Ingredients
- Cashews: ⅔ cup
- Water: ¼ cup
- Lemon juice: ½ cup
- Ume plum vinegar: 1 tablespoon (or make your own by combining ¾ cup white rice vinegar, ¼ cup sugar and 2 teaspoons of salt, then store the rest in the refrigerator for later)
- Nutritional yeast: 1 tablespoon
- Oregano: ½ teaspoon
- Marjoram: 2 teaspoons
- Spirulina: 1 teaspoon
- Salt: 1 pinch or to taste
Method
- For a minimum of 4 hours, soak the cashews.
- Add the cashews, the salt, the lemon juice, the nutritional yeast, the ume plum vinegar, and the water to your blender and blend the mixture until it is smooth.
- Add 3-4 tablespoons of the mixture to a small glass bowl. Add the oregano, marjoram, and spirulina. Stir and combine the mixture thoroughly.
- In a small glass bowl, prepare a piece of cheesecloth.
- Add the white cheese mixture to it.
- Then, add the coloured-herbed mixture to it. You can use a long toothpick to marble the mixtures together.
- Once your cheese is marbled, tie up the cheesecloth and punch holes into the top part of the cheese, but through the cheesecloth only, with a large skewer.
- Use this to suspend the cheese over a bowl to allow excess water to drain.
- Refrigerate overnight.
Nutrition Per Serving
- Calories: 423
- Carbs: 31 g
- Fat: 29 g
- Protein: 15 g
- Sodium: 1825 g
- Sugar: 7 g
5. Vegan Blue Cheese (Artisan Roquefort)
You can get the authentic blue mould taste from the Penicillium roqueforti ingredient. And the best thing is that it is all plant-based, so you can eat it without feeling guilty! Are you ready to give this vegan blue cheese a try? Let's do it!
Prep time: 1 hour | Curing and aging time: 2-4 weeks
Ingredients
- Raw cashews: 2 cups (474 ml) – Organic & fairtrade is preferable.
- Filtered water: 3 tablespoons (45 ml)
- Water kefir: 3 tablespoons (45 ml) – or any other probiotic liquid (you can skip it and just use filtered water instead).
- Coconut oil: 2 tablespoons (30 ml)
- Plant-based probiotic: 4 capsules (I use the 15 billion per capsule variety)
- Himalayan or cheese salt: ~½ teaspoon (5 ml) (the salt needs to be low in iodine)
- Penicillium roqueforti: ⅟₁₆ teaspoon (dash)
Method For Making The Vegan Blue Cheese
- First of all, soak the cashews in filtered water in the fridge overnight.
Day 1
- Dump the water that the cashews were soaked in overnight. Then, pour boiling water over the soaked cashews.
- Let it sit for a couple of minutes, then drain it.
- Add the cashews to a high-speed blender (or a food processor)
- Add the salt, water kefir and filtered water.
- Blend or pulse. Regularly scrape the sides and blend until you achieve the smooth blue cheese texture you want.
- Add the contents (powder) of the probiotic capsules and the penicillium roqueforti.
- Blend or pulse again until all the ingredients are thoroughly mixed.
- Pour the mixture into a glass container.
- Lightly cover it and let it stand overnight to ferment.
Day 2
- Use a container lid and put a bottomless springform cake pan on it, then put cheesecloth in it.
- Scoop the mixture into it and slightly pack it down. Then, fold the cheesecloth over the edges and gently press it to level the blue cheese mixture.
- Use a glass or plastic container to cover it lightly, and let it sit in the coolest area of the house (53-56°F or 12-14°C). I leave mine in the basement, and it works great. Let it form during the night.
Day 3
- Take out the springform and remove the cheesecloth. Sprinkle some salt evenly on it. Using a piece of parchment paper to cover it, you can carefully flip the cheese.
- Remove the cheesecloth and sprinkle salt on its sides as well.
- Cover the blue cheese and put it back into the cool area.
- Note: the salt you use to sprinkle is about ¼ teaspoon (1.25 g), but don’t worry if it is not the exact amount.
Day 4
- Some blue mould is starting to form, but mainly on the sides of the cheese.
- Use an additional piece of parchment paper to flip the cheese over, dry the plastic cover if there is moisture on it, and put your blue cheese back into the cool area.
- Note: After each use, you can wipe down the paper with a clean washcloth and then dry it. Then, you can re-use the same paper until it gets too weary.
Day 5
- There is more blue mould showing today. There are two methods to get air into the cheese at this point.
- The first option is to use a clean stick to poke the cheese to make the holes. Start from the top through to the bottom, then from the side through to the other side. Prick as many holes as you can into the cheese, but make sure the cheese doesn’t collapse.
- Then, use a piece of parchment paper to cover the cheese and flip it. Prick this side through the bottom as well. Dry the cover with a dish towel and put the cheese back into the cool area of your house. In our case, it is the pantry or the garage.
- The second option is to crumble the cheese into small chunks, then lightly pack the chunks into the smaller springform baking pan. Remove the springform, dry the cover and put it back into the cool area of your house.
- Note: this step is essential for allowing air to circulate and creating air pockets inside the cheese for the mould to grow. The mould is the key to making the cheese tasty.
Day 6
- There is more mould on it, but also a bit more moisture.
- Use a piece of parchment paper or Saran Wrap to cover the cheese and flip it.
- This time, you can put a bamboo mat underneath to help ventilate the bottom of the cheese.
- Dry the cover, replace it and put the cheese back into the cool area. You could put the cheese directly on the mat, but the mould might stain it, and it’s hard to clean.
Days 7 – 11
- Repeat the flipping daily, and change the bamboo mat to a dry one should it get too damp.
Day 12 or so
- The cheese should now be covered with blue mould.
- It’s time now for the slow aging of the blue cheese.
- Transfer the cheese to a sheet of parchment paper and wrap it.
- Put it in a breathable container and store it in the refrigerator to age for another 2, maybe 3 weeks.
- No more need to flip the blue cheese at this point. Note: the mould didn’t grow, and I covered the cheese with the one I crumbled. I didn’t like the looks of it that much. However, I covered it and let the cheese age in the refrigerator anyway.
After About 2 Weeks In The Fridge
- Your blue cheese should be ready to eat. The one with the hole pricked has mould growth inside where it got pricked.
- It tastes delicious, and it can satisfy my blue cheese cravings.
- If you like a stronger flavour, you can leave the blue cheese a bit longer.
- I let the crumbled cheese age for about 4 weeks. It doesn't look as appealing on the outside at first, but the smell and texture are close to the dairy-containing blue cheese.
- There are also many more small blue veins inside that distribute the flavour.
- The crumbling did an outstanding job of creating small air pockets for the mould to grow.
- With a lot more mould distributed, the taste is fantastic. Being aged longer with more mould inside, this one is the winner!
Conclusion
Whether you're a long-time vegan or simply exploring plant-based options, these Vegan Blue Cheese Recipes provide delicious and satisfying alternatives to the traditional version.
The intense flavours you enjoy can be recreated cruelty-free with basic ingredients and simple-to-follow directions. Give them a try and elevate your meals with these delectable vegan blue cheese creations.
I trust you enjoyed this article on 5 Delicious Vegan Blue Cheese Recipes. Please stay tuned for more blog posts to come shortly. Take care!
JeannetteZ
>>> Please click here to read my Vegan Travel Guides To World Destinations <<<
>>> Do You Want To Surprise Your Family And Guests With Delicious Vegan Lunches And Dinners Regularly? Become A Member At Veecoco – My #1 Recommendation – And Have Access To Over 700 Delicious, Healthy AND 100% Vegan Recipes <<<
Your Opinion Is Important To Me
Do you have thoughts, ideas, or questions? I would love to hear from you. Please leave me your questions, experiences, and remarks about this article on the 5 Delicious Vegan Blue Cheese Recipes in the comments section below. You can also reach me by email at Jeannette@LivingTheVeganLifestyle.org.
Disclosure
This post may contain affiliate links. I earn from qualifying purchases as an Amazon Associate and other affiliate programs. Please read my full disclosure.
Here are links to some of my favourite articles:
7 Delicious Vegan Jackfruit Salad Recipes
6 Delicious Vegan Crab Cake Recipes
Italy Vegan Travel Guide With Popular Vegan Restaurants
India Vegan Travel Guide With Popular Vegan Restaurants
6 Delicious Vegan Rhubarb Recipes